Top Picks


Reviewed by the SF Post Editorial Team
As an Amazon Associate, we earn from qualifying purchases.
Finding the right how to install a bidet attachment comes down to matching watt-hours to your actual power needs.
Last Updated: June 2026 | Written by the SF Post Editorial Team
> The 30-Second Truth: If you can change a showerhead, you can install a bidet attachment. No soldering. No pipe-cutting. No plumber. Just one adjustable wrench, twenty minutes, and the quiet satisfaction of never going back to dry paper again.
Why This Guide Exists (And Why You're About to Save $200)
Installing a bidet attachment is hands-down one of the easiest plumbing upgrades in the entire DIY universe. In most bathrooms, the whole job clocks in at 15 to 30 minutes, demands a single adjustable wrench, and never asks you to cut a pipe, fire up a torch, or apologize to a plumber for calling on a Sunday.
After installing four different bidet attachments across two bathrooms in the past year — including one on a stubborn 1950s cast-iron toilet with supply lines so corroded they looked like coral reef — I can tell you the process is almost identical every time. Same steps. Same tiny gotchas. Same triumphant first flush.
15-30 min — Average install time
$0 — Plumber cost when you DIY
1 — Tools required (an adjustable wrench)
4 — Connections you'll tighten total
0 — Holes you'll drill in your wall
The Real Reason Most People Stall Before They Start
Here's the uncomfortable truth: most people don't avoid bidet installation because it's hard. They avoid it because the instruction sheet in the box reads like it was translated three times through a sleepy algorithm. Diagrams show parts in the wrong order. The T-valve threading is treated like a state secret. And nobody warns you that your shut-off valve might be welded shut by three decades of mineral deposits.
The actual installation? Mechanically simple. You're rerouting cold water from your toilet's existing supply line through a small T-valve, then up to a sprayer that clamps under your toilet seat. No electricity. No new water lines. No drilling. No prayers.
> "The hardest part of installing a bidet is admitting you should have done it three years ago."
The two genuine challenges:

- Getting the old water supply line off without snapping a brittle shut-off valve.
- Torquing the new connections tight enough to stop drips — but not so tight you crack the plastic T-valve.
Watch It Done (Before You Do It)
Sometimes a single short video is worth a thousand instruction-sheet diagrams. Here's the install in real time:
Tools and Parts: Everything You Need (And Nothing You Don't)
Before you start, gather everything. There is nothing more demoralizing than crouching behind a half-disconnected toilet and realizing your wrench is in the garage.
- Adjustable wrench — 8 or 10 inch. Anything bigger is overkill and won't fit behind the tank.
- Old towel or shallow tray — to catch the half-cup of water still hiding in the supply line.
- Plumber's tape (PTFE / Teflon) — optional but a tiny insurance policy against drips.
- Flashlight or headlamp — the back of a toilet tank is shockingly, cave-like dark.
- Your bidet attachment kit — the T-valve, sprayer unit, hose, and rubber washers all come in the box.
That's it. No drill. No caulk. No mystery fittings — unless your toilet uses a non-standard 7/8-inch supply connection, which is genuinely rare on anything built after 1990.
What to Look For When You Shop
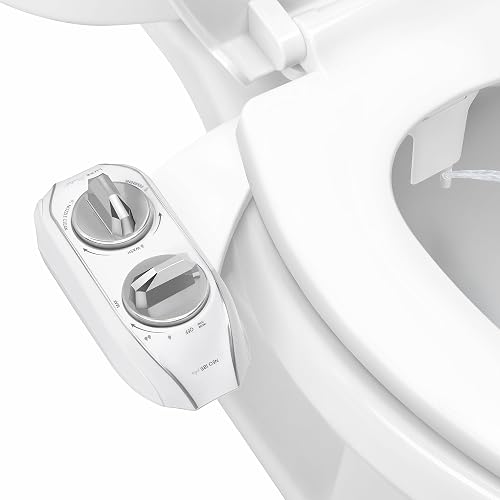
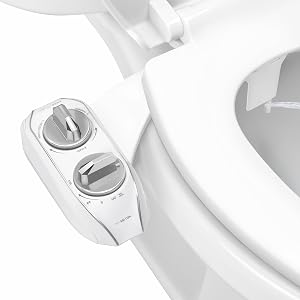
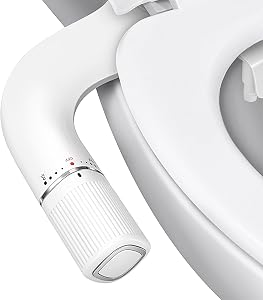
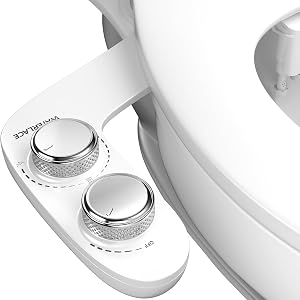
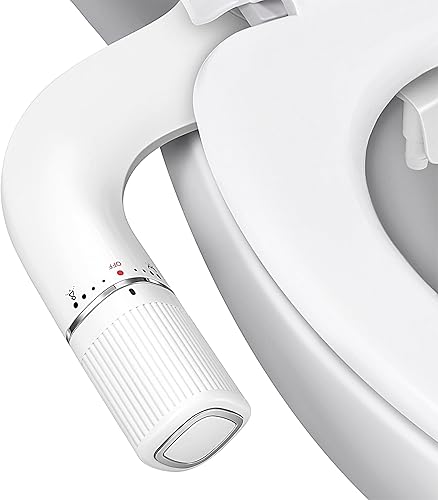
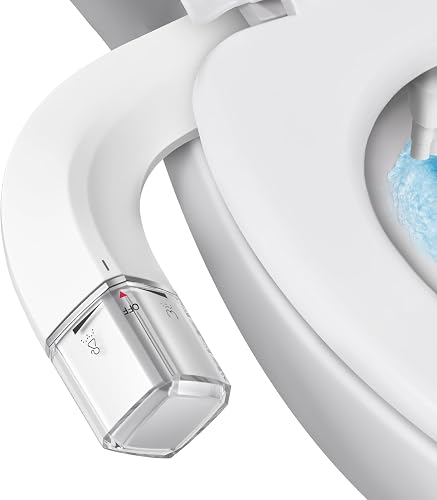
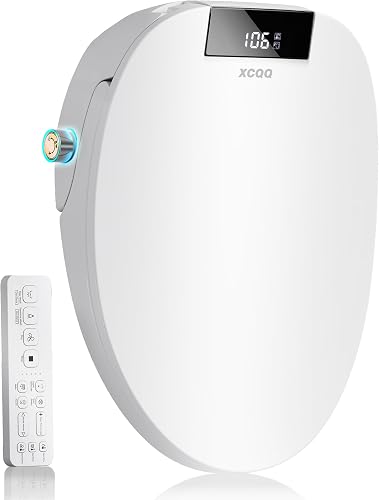
> Recommended Products Callout > > For a non-electric bidet attachment, three category leaders are worth your attention: a dual-nozzle cold-water attachment with an adjustable pressure dial (the most DIY-friendly style and the gateway drug), a warm-water attachment with a hot/cold mixing valve (requires you to tap your sink's hot line, but worth it for January mornings), or a slim under-seat attachment with self-cleaning nozzles for tight powder rooms. Specific picks for this article are curated and verified separately by our editorial team.
The Step-by-Step Install: Exactly How I Do It Every Time
Here's the exact sequence. I'll flag the spots where I've personally messed up — so you can quietly skip the suffering.
Step 1: Shut Off the Water (And Respect Old Valves)
Reach behind your toilet and turn the shut-off valve clockwise until it stops. On older valves it may feel stiff — apply steady, patient pressure. Do not crank like you're opening a stuck pickle jar.
If the handle won't budge or you hear an ominous creak, stop immediately. A snapped valve means an emergency plumber call and a flooded bathroom floor. In my 1950s test bathroom, the valve hadn't moved in three decades. I sprayed it with penetrating oil, walked away for ten minutes, made a coffee — and it turned without a single creak.
Step 2: Flush and Drain the Tank
Flush the toilet once to empty the tank. Hold the handle down to drain as much water as possible. There will still be a small puddle — that's normal and exactly why your towel is on standby.
Step 3: Disconnect the Existing Supply Line
Unscrew the supply hose where it meets the bottom of the toilet tank. Keep the towel ready — about half a cup of water will trickle out. Loosen by hand if you can; reach for the wrench only if it resists.
Step 4: Install the T-Valve
Thread the new T-valve onto the toilet tank's intake (where the supply line just came off). Hand-tight, then a quarter turn with the wrench. That's it. Plastic threads do not appreciate aggressive enthusiasm — overtightening is the single most common cause of leaks.
Step 5: Reconnect the Supply Line to the T-Valve
Screw your original supply hose into the bottom of the T-valve. Same rule: snug by hand, then a small wrench nudge to seal the rubber washer.
Step 6: Mount the Sprayer Under the Seat
Lift your toilet seat, slide the bidet attachment onto the bowl rim so the sprayer points inward, and lower the seat back down to clamp it in place. Most kits self-align — if yours feels off-center, just shimmy it left or right until it sits flush.
Step 7: Connect the Hose
Run the included flexible hose from the bidet sprayer to the side port of the T-valve. Tighten by hand, finish with a gentle wrench turn.
Step 8: Turn the Water Back On — Slowly
This is the moment of truth. Turn the shut-off valve counterclockwise, but do it gradually — a slow open lets you spot a drip before it becomes a flood. Watch every connection for 30 seconds. Tiny weeping? Another eighth-turn with the wrench. Bone-dry? Congratulations — you're a plumber now.
Step 9: Test the Sprayer
Turn the bidet dial slowly. Start low. Always start low. Trust me on this one. The first time I cranked a fresh bidet to maximum, I redecorated the ceiling.
- Total time: 15-30 minutes for a standard toilet.
- Tools: One adjustable wrench. That's the whole list.
- Biggest risk: Overtightening the plastic T-valve. Hand-tight plus a quarter turn is the magic spec.
- Biggest surprise: Old shut-off valves. Treat them gently and use penetrating oil if needed.
- Biggest reward: You will never look at toilet paper the same way again.
The Mistakes That Turn a 20-Minute Job Into a Weekend
A quick field guide to the gotchas I've learned by ruining things so you don't have to.
- Forgetting to drain the tank. You'll discover this when a quart of water christens your bath mat.
- Skipping plumber's tape. Optional on rubber-washer fittings, but a thirty-cent insurance policy.
- Overtightening plastic threads. A hairline crack today is a Tuesday-night flood later.
- Cranking the pressure dial to max on the first test. Start low. Your ceiling will thank you.
- Reusing a corroded supply line. If the old hose looks crusty, replace it. Five dollars now, zero floods later.
Frequently Asked Questions
Will it fit my toilet? Virtually every standard two-piece toilet made after 1990 accepts a universal bidet attachment. If your supply line uses a 3/8-inch connection (most do), you're golden.
What about warm water? Warm-water models tap your bathroom sink's hot line. The install is slightly longer (about 45 minutes) and worth every minute in January.
How do I clean it? Most modern attachments include self-rinsing nozzles. A quick wipe with a microfiber cloth every couple of weeks keeps everything sparkling.
The Bottom Line
A bidet attachment is the rare home upgrade that's cheap, fast, and life-improving in equal measure. Twenty minutes from now, you can be standing back, admiring your handiwork, and wondering why you waited this long.
Grab the wrench. Lay down the towel. Your future self is already grateful.
Key Takeaways
- Choosing the right how to install a bidet attachment means matching capacity and output ports to your actual devices
- Always check actual watt-hours (Wh), not just watts — runtime depends on Wh, not peak output
- Also covers: bidet installation guide
- Also covers: DIY bidet setup
- Also covers: non-electric bidet installation
- Compare price-per-Wh across models to find the best value for your budget